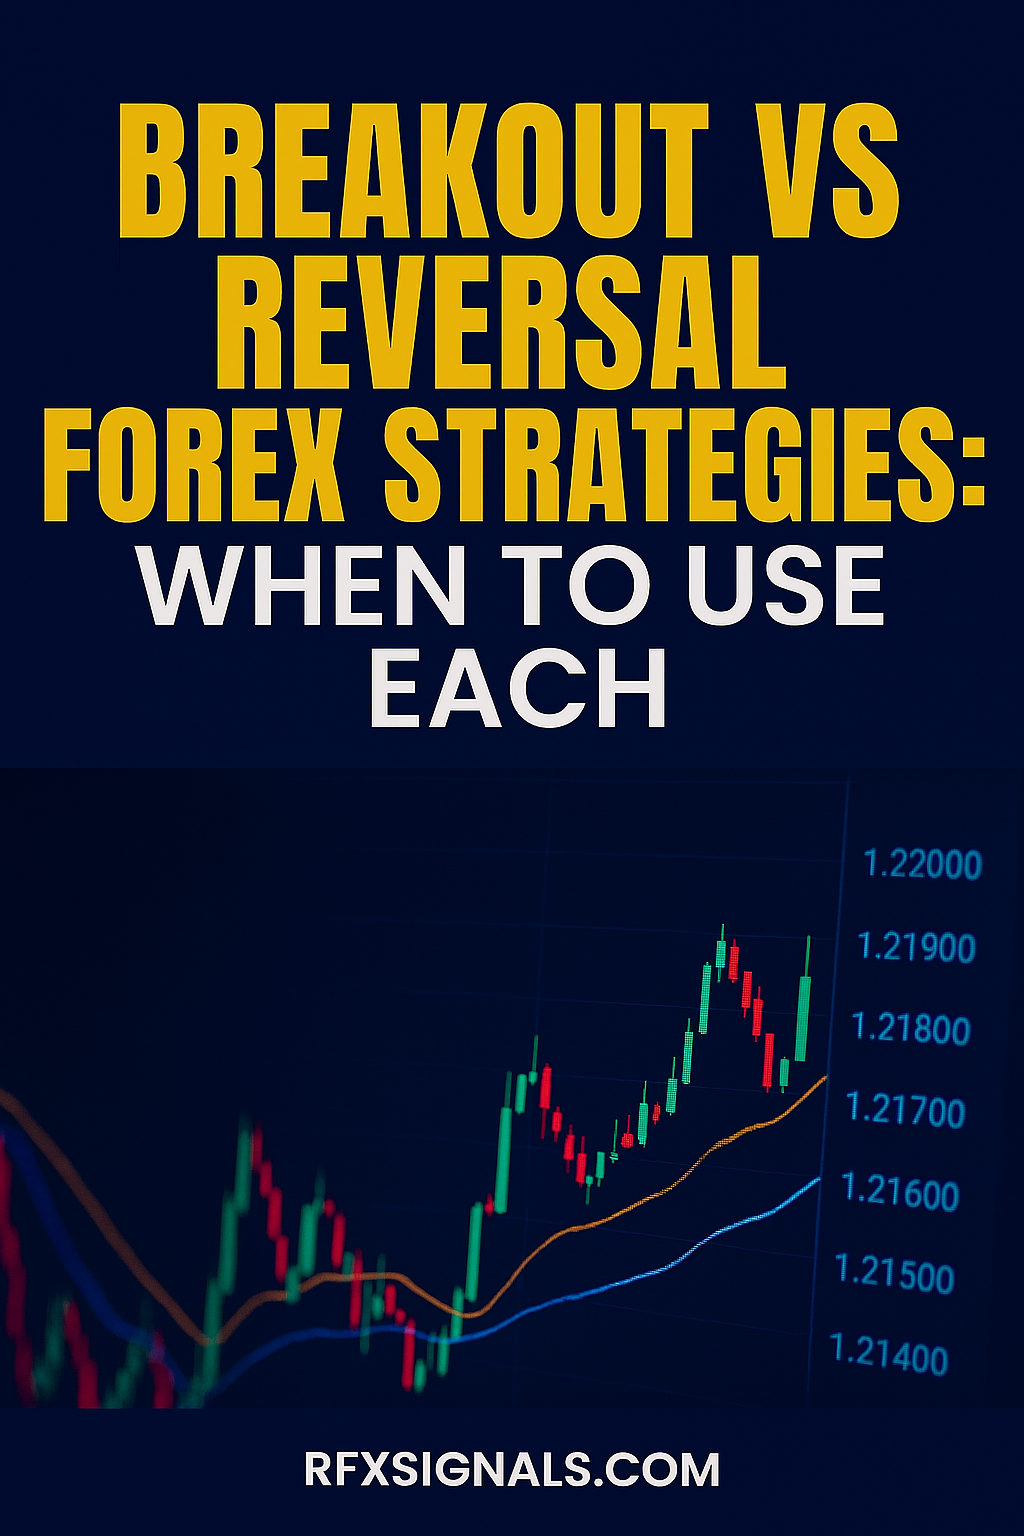
Breakout vs Reversal Forex Strategies – When to Use Each
Forex traders often debate whether to focus on breakouts — trading in the direction of a new price movement — or reversals, capturing the turning points of market trends. Both have merit. The challenge is knowing when to use each approach and how to control risk. In this guide, we’ll explore definitions, mechanics, advantages, drawbacks, and how to decide which fits best in different market conditions.
Join RFXSignals channels to receive real-time setups, including breakout entries and reversal alerts with annotated charts.
What is a Breakout Strategy?
A breakout strategy involves entering trades when price moves beyond a key support, resistance, or consolidation zone. The idea is that the breakout signals the beginning of a new trend, driven by an imbalance between buyers and sellers.
- Types of breakouts: continuation breakouts (trend continues) and reversal breakouts (false range, new trend starts).
- Common tools: support/resistance levels, trendlines, Bollinger Bands, and volume analysis.
What is a Reversal Strategy?
A reversal strategy aims to catch turning points in the market. Traders look for overextended trends that are losing momentum and prepare for price to shift in the opposite direction.
- Reversal signs: divergence with RSI/MACD, candlestick patterns (e.g., hammer, engulfing), support/resistance holding strong, or failed breakouts.
- Risk factor: picking tops and bottoms can be high risk; stops are essential.
Pros & Cons of Breakout Strategies
Advantages
- Catches strong trends early.
- High reward potential if breakout sustains.
- Clear entry triggers from price levels.
Disadvantages
- False breakouts are common.
- Requires quick execution and discipline.
- Choppy markets lead to repeated small losses.
Pros & Cons of Reversal Strategies
Advantages
- Great risk-to-reward potential (tight stops).
- Opportunity to profit before the crowd recognizes the trend change.
- Useful in range-bound or overextended markets.
Disadvantages
- High failure rate if trend is strong.
- Psychologically tough — requires going against crowd sentiment.
- Can result in frequent stop-outs if mistimed.
When to Use Breakout vs Reversal Strategies
Breakout Strategy is best when:
- Price consolidates before a news event or session open.
- Strong momentum builds after economic data releases.
- Chart patterns form (triangles, rectangles, flags).
Reversal Strategy is best when:
- Trend looks overextended (multiple consecutive candles).
- Divergence between price and oscillators appears.
- Price fails to break resistance/support multiple times.
Practical Examples
Breakout example: EUR/USD consolidates near 1.1000 for several sessions. On high volume, price breaks above resistance at 1.1050 — a breakout trader enters long with stop below the range.
Reversal example: GBP/USD rallies for days but forms bearish divergence on RSI. A bearish engulfing candle at resistance suggests reversal — trader shorts with stop above the swing high.
Risk Management for Both Approaches
- Always use stop-loss orders: below the breakout level or above reversal entry.
- Risk only 0.5%–1% per trade for consistency.
- Take partial profits to lock in gains and trail stops for extended moves.
Combining Breakout & Reversal Strategies
Smart traders use both depending on market context:
- During high volatility sessions, breakout trades capture momentum.
- In ranging conditions, reversal trades exploit boundaries.
- Sometimes, a failed breakout immediately transitions into a reversal trade opportunity.
Link Building & RFXSignals Funnel
Internal links: Insert anchor links to other educational pieces like Moving Average Crossovers and SMC Forex Strategy. This increases SEO relevance and keeps readers engaged.
External CTAs: Direct readers into your Telegram and WhatsApp groups using clear buttons throughout the article.
Off-page link building: Publish summaries of breakout vs reversal strategies on guest blogs with backlinks to this article, funneling traffic back to RFXSignals.
Checklist Before Entering
- Is the market trending or ranging?
- Is there strong confluence (volume, candlestick pattern, indicator)?
- Is risk/reward favorable (at least 1:2)?
- Am I prepared for false breakout or failed reversal?
Get live trade alerts and setups explained in detail — including breakout entries and reversal confirmations — directly in our community groups.
Conclusion
Breakout and reversal strategies are not rivals — they’re complementary tools. The best forex traders adapt to market conditions, applying breakouts in trending/high-momentum contexts and reversals in overextended or range-bound environments. Mastering both gives you a more flexible toolkit for 2025’s volatile markets.
Disclaimer: This article is for educational purposes only and not financial advice. Forex trading is risky. Test strategies in demo environments before committing real funds.